本ブログはアフィリエイト収入で運営しております。 少しでも気になったサービスがございましたら試していただけますと励みになります!
こんにちは~!いけやんです。
今回はビットコインNFTを管理できるウォレット
Xverse Wallet(エックスバースウォレット)
の設定方法と使い方を紹介していきます。

実際の画面に沿って設定できますので、簡単に進められるよ!
サクッと設定して、ビットコインNFTを楽しみましょう。
まだビットコインを手に入れていない場合、取引所でビットコインを入手しておくことをオススメします。
上記記事はエックスバースではなく、メタマスク宛てに送金する流れとなっておりますが、ビットコインをゲットしてウォレットに送金する流れは同じなので、参考になりますよ!
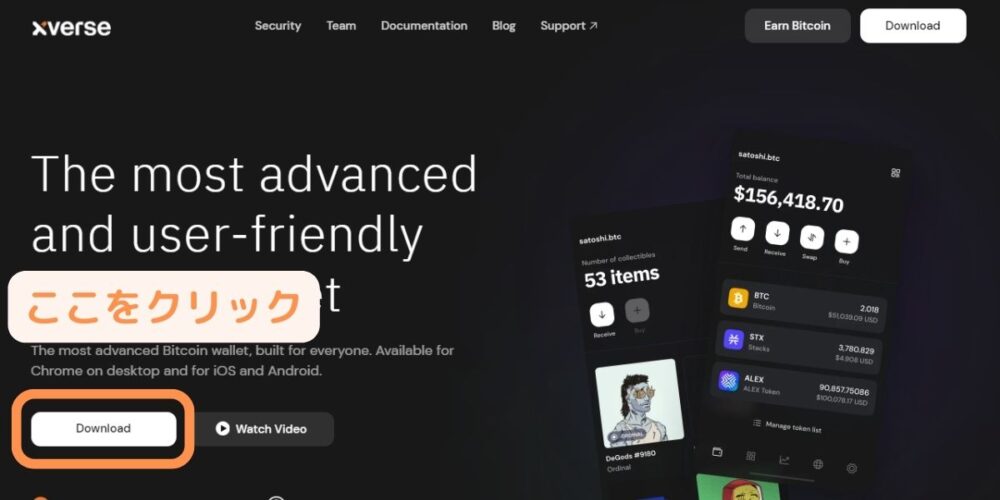
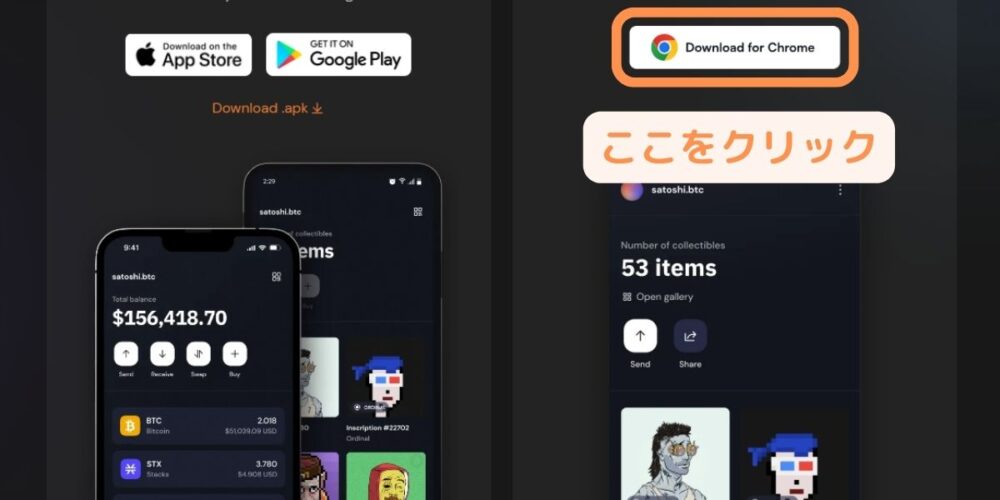
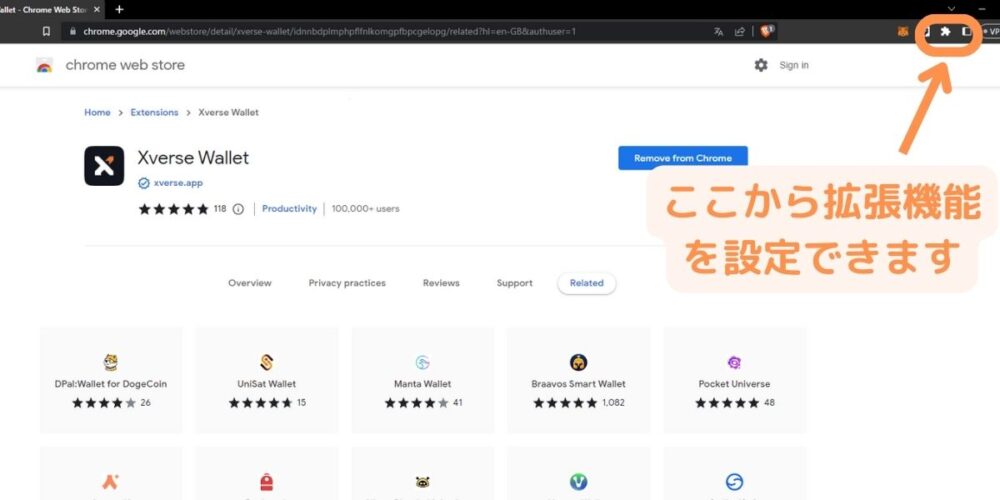
Xverse Wallet(エックスバースウォレット)をダウンロードする方法
はじめに、Xverseの公式サイトをひらきます。
まずは画面中央下にある「Download」をクリック。
続いて、「Download for Chrome」をクリック。
※Google Chromeのみ表示されていますが、Brave(ブラウザ)でも設定可能です。
「Add」 to Chromeをクリック。
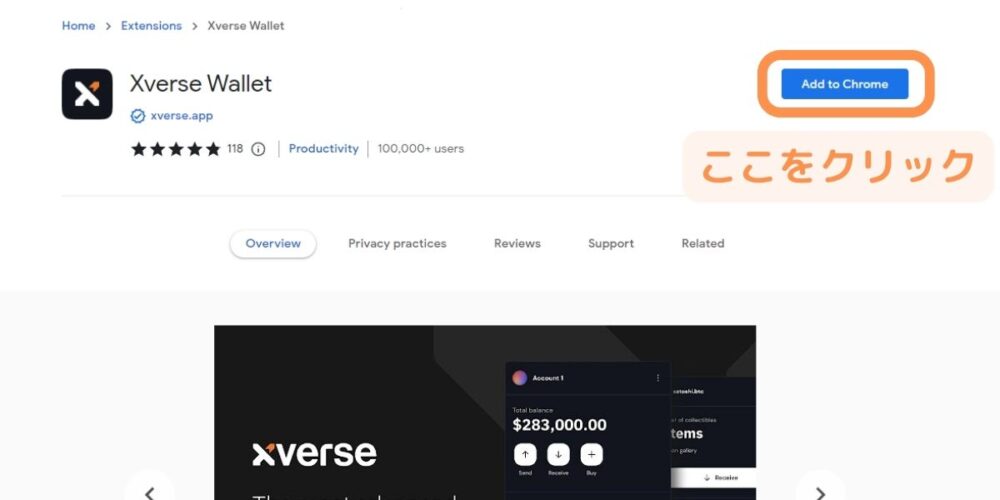
これでダウンロード完了です。
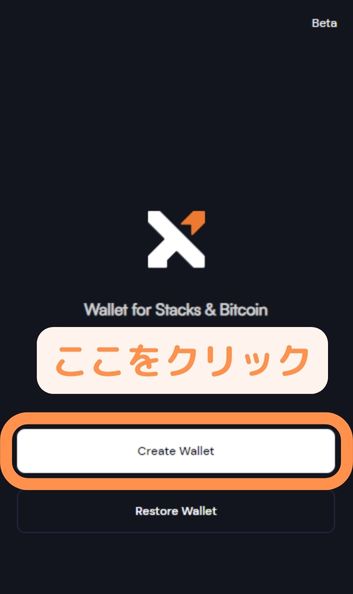
Xverse Wallet(エックスバースウォレット)の設定方法
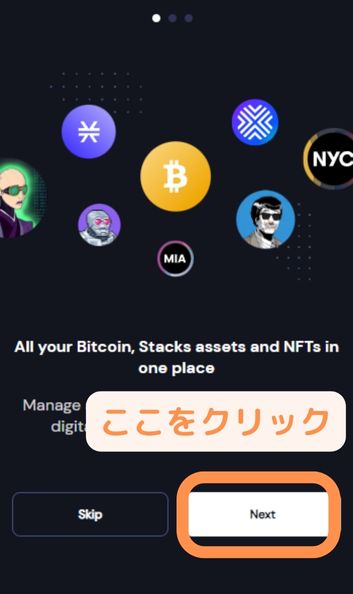
ウォレットを作成していきます。
まずは「Create Wallet」をクリック。
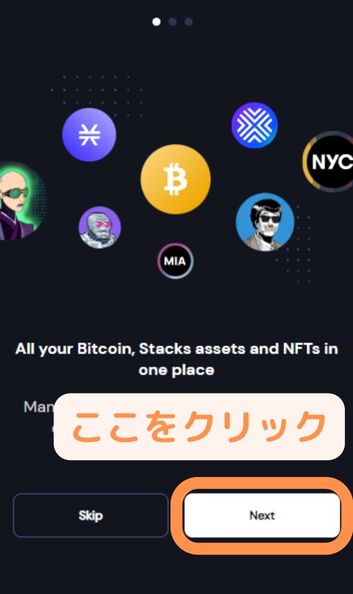
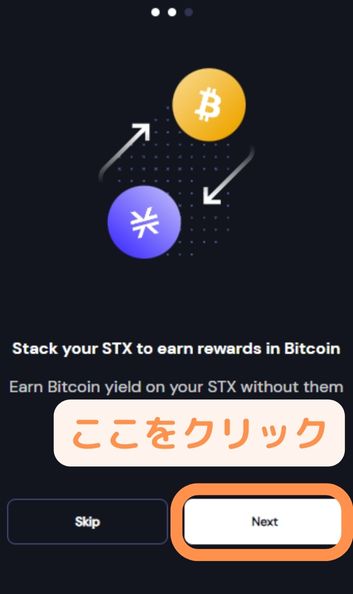
「Next」をクリック。
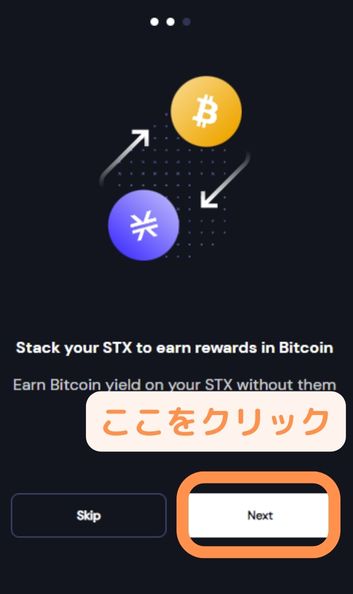
「Next」をクリック。
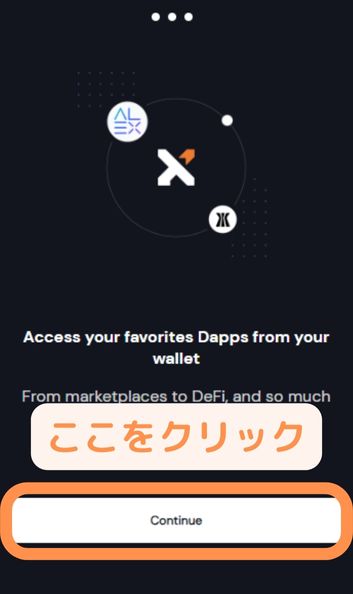
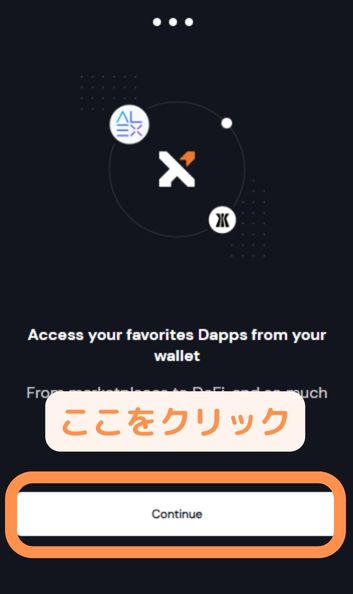
「Continue」をクリック。
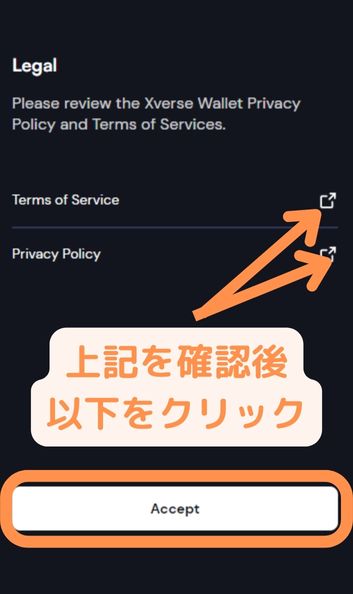
利用規約とプライバシーポリシーを確認。
その後「Accept」をクリック。

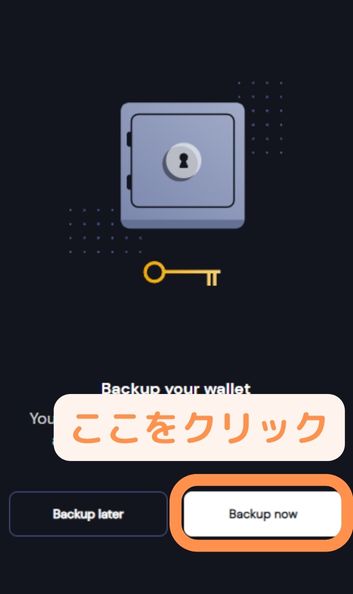
「Backup now」をクリック。
とっても大事な工程だから、「Backup later」で飛ばさないようにね!
もし「Backup later」を選択した場合、後で必ず設定しましょう!
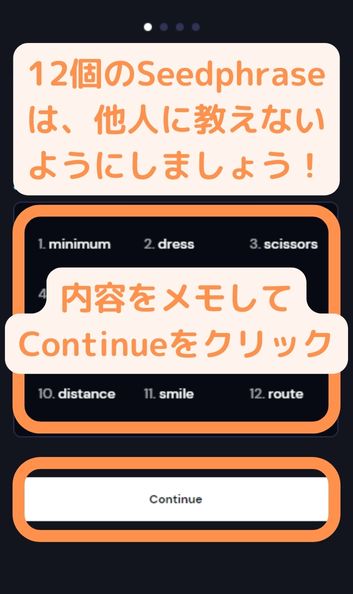
「Show」をクリックし中身を確認。
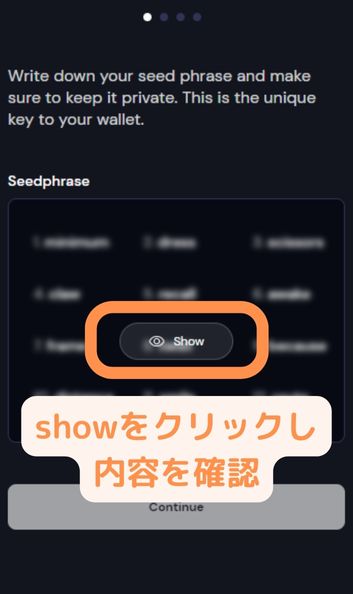
ここからが、特にに大事な工程です。
Seedphrase(シードフレーズ)という12個の単語が表示されますが、こちらは誰にも教えないようにして下さい。
この単語を知られちゃうと、暗号資産を抜かれる可能性があるんだ!
また、
GoogleやAppleのクラウドサービス(メモアプリ)への保存もできる限り避けて下さい。
情報がネットに繋がっているため、ハッキングされたらアウトです。
古典的ですが、紙に記載もしくは、ネットに接続されていない方法で保管しましょう。
定番の保管方法としては、Ledger Nano S Plus
![]() が有名です。
が有名です。
詳しく知りたい人は、こちらのページをチェックしてみて下さい。

上記ページに移動して少しスクロールすれば、Ledger Nano S Plus ![]() の情報を確認可能です!
の情報を確認可能です!
上記でメモした「Seedphrase(シードフレーズ)」を入力。
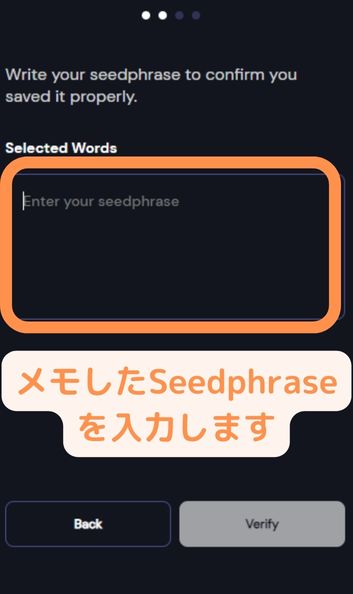
以下のように単語と単語の間は半角スペースを設けましょう。

パスワードを設定。
セキュリティレベル(Security Level)と覚えやすさを考慮して決めよう!
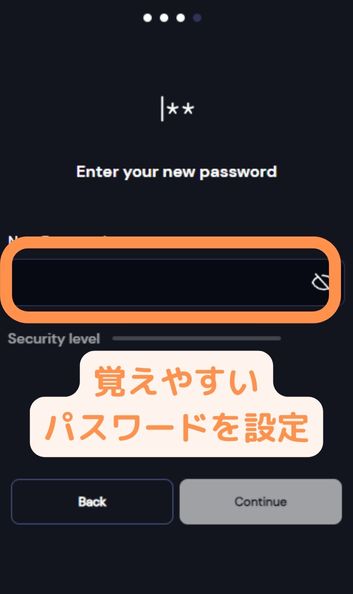
パスワードを確認。

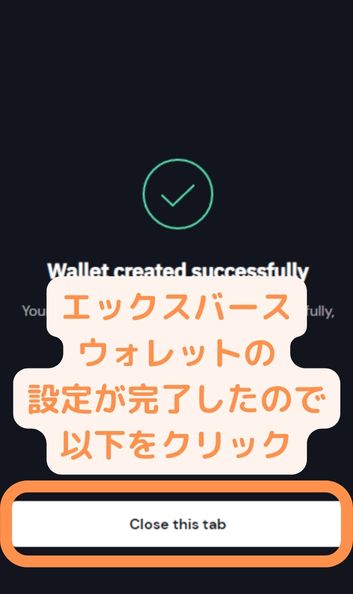
以下画面が出てきたら設定完了。
ウォレットのアドレスをコピーする方法
続いてはXverse Wallet(エックスバースウォレット)のアドレスをコピーする方法を説明していきます。
ビットコインNFTを受け取る時に必要になるよ
まずは右上の拡張機能ボタンをクリック。
拡張機能が表示されたら「Xverse Wallet」をクリック。
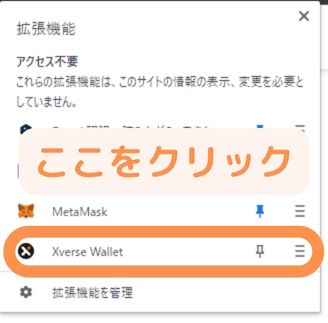
Xverse Walletが開きますので、パスワードを入力し「Unlock」をクリック。

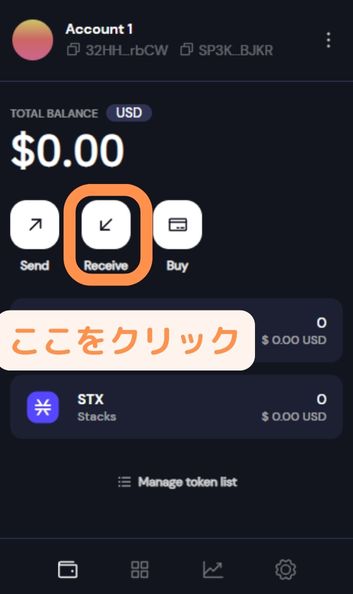
続いて「Receive」をクリック。
「Receive=受け取る」ためにアドレスが必要ということなんだ
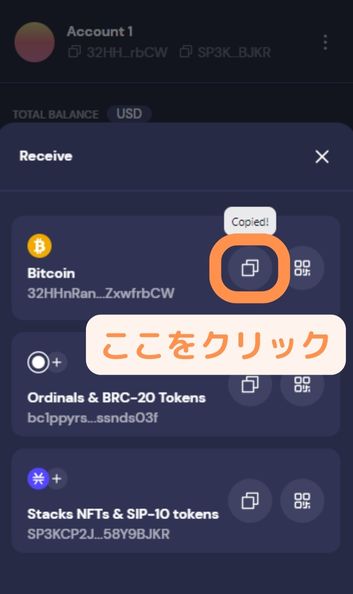
続いて、Xverse Walletで扱える3種類のアドレスが表示されます。
- Bitcoin(ビットコイン)専用のアドレス
- Ordinals(オーディナル)※ビットコインNFT&BRC-20トークン専用のアドレス
- スタックスNFT&SIP-10トークン専用のアドレス
アドレスを間違えてしまうと、資産を失いますので、注意して下さい!!
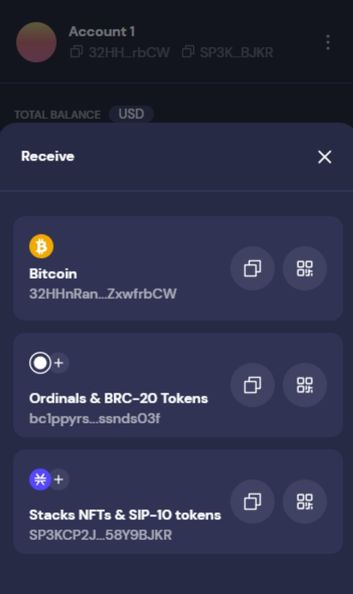
例えば、ビットコインを受け取りたい場合は
「Bitcoin」のコピーマークをクリック。
を設定する方法3.jpg)
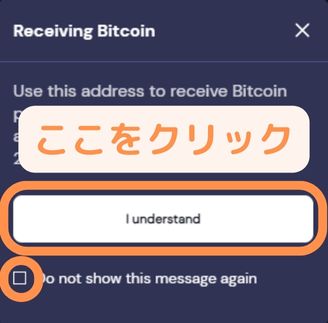
「I understand」をクリック。
「Do not show this message again」も忘れずチェックしましょう。
チェックしないと何度も表示されます。
そうしますと、次回以降は以下コピーマークをクリックするだけで、コピーできるようになります。
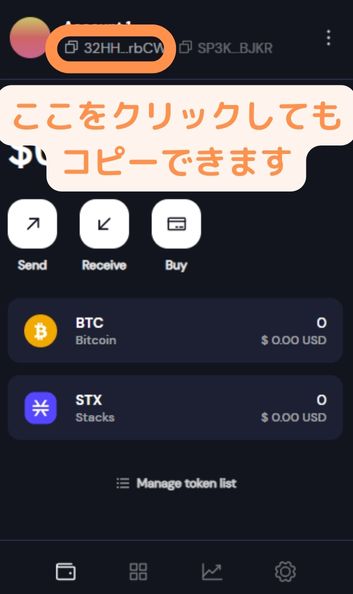
ちなみに、以下場所をクリックしてもアドレスをコピーできます。
仮想通貨取引所で入手したビットコインはこのアドレス宛に送金するといいよ!
既に作成済みのウォレットをインポートする方法
最後に作成済みのウォレットをインポートする方法を紹介します。
ウォレットを持っていない人は無視していいよ
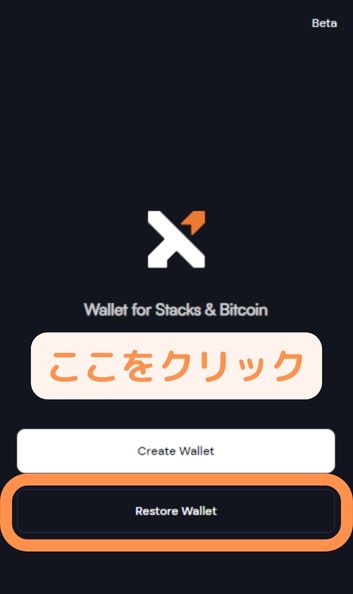
Xverse Walletを立ち上げたら「Restore Wallet」をクリック。
続いて「Next」をクリック。
もう一度「Next」をクリック。
次に「Continue」をクリック。
利用規約とプライバシーポリシーを確認。
その後「Accept」をクリック。
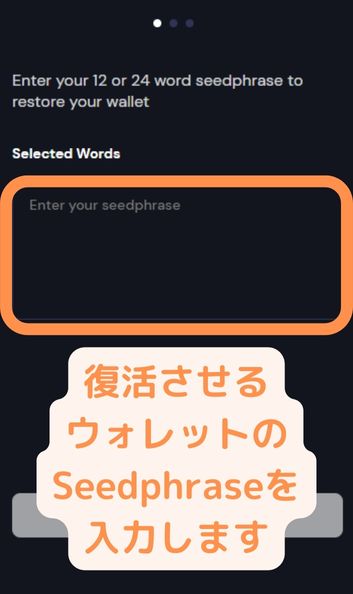
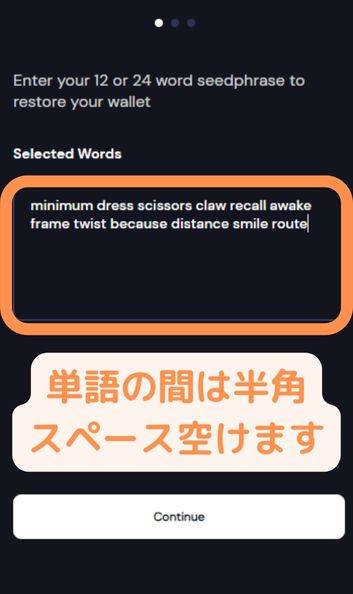
保管している「Seedphrase」を以下に入力します。
単語の間は半角スペースを空けましょう。
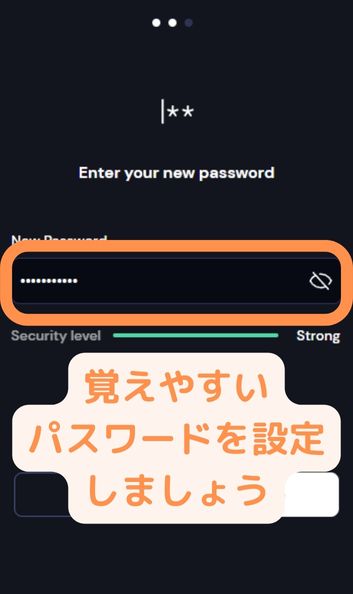
続いてパスワードを設定します。
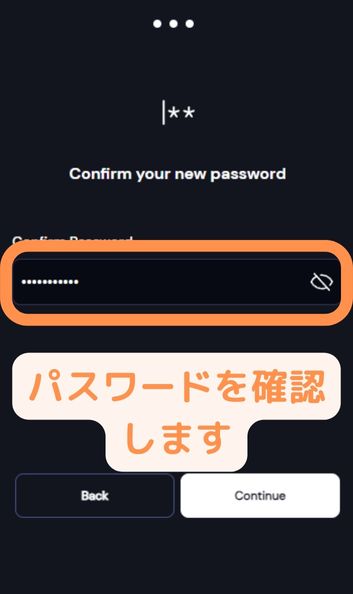
パスワードを確認。
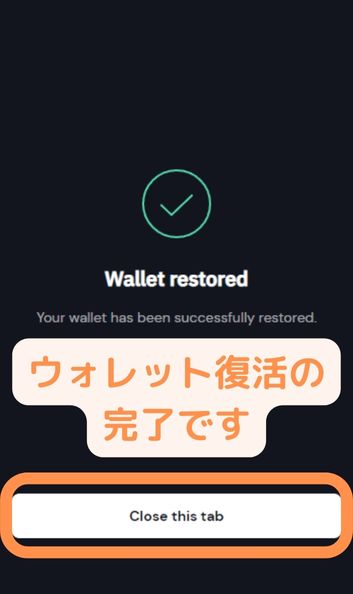
以下画面が表示されたら、ウォレットの復活完了です。
これで今回の説明は完了だよ!
おつかれさま~
ウォレットの設定が完了した人はビットコインNFTを購入してみましょう!